

Vinyl Record Accessories & Storage
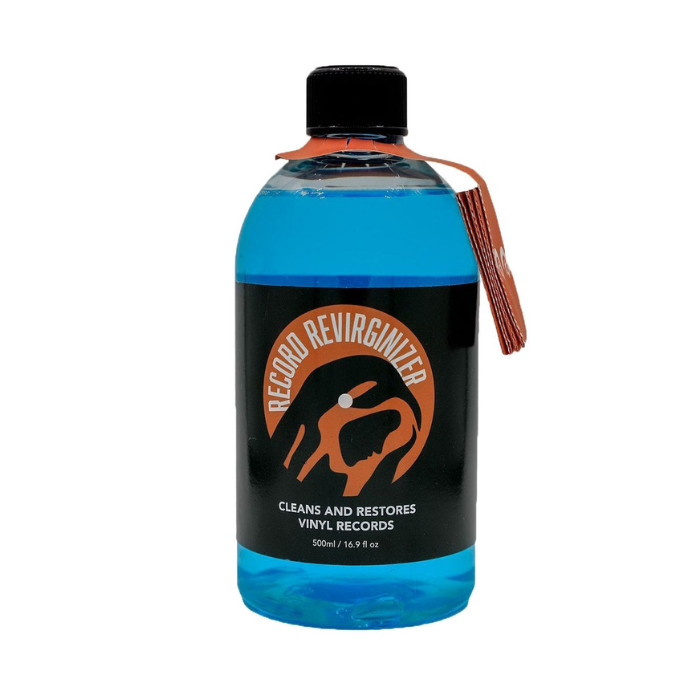
Record Revirginizer
0746935800864
Couldn't load pickup availability
Pickup currently unavailable at Rockaway Records Westfield Carindale
Pairs well with
DESCRIPTION
Every good product starts with a problem.
For the team at Record Revirginizer it was the crackles and popping sounds in their beloved vinyl. While many people believe that the pops and crackles are because their vinyl records are “scratched” beyond repair, the real problem is most likely to be dust and mould that is ground into the vinyl grooves.
HOW IT WORKS
You can tell the difference between scratches and dusty waxy build-up by listening closely. If you hear pops and crackles all the way round, it is more than likely caused by build-up in the microscopic ridges located within the grooves of the record.
This build-up is caused by the friction of the stylus passing over the tiny ridges and generating just enough heat to make the tiny ridges sticky. The stylus then picks up loose material as it travels through the grooves and deposits them on the sticky ridges where they stay. Conventional record brushes cannot remove this microscopic material and while some record cleaners may remove some, none will efficiently lift out all the dirt and mould caught between the grooves. That is where Record Revirginizer is different.
The distinctive blue solution has been formulated with just the enough elasticity to remove all the embedded material from the record grooves while ensuring no residue is left behind. The anti-static properties of the formula ensure that once the film is pealed away, your vinyl will be static free.
INSTRUCTIONS
- Lay your vinyl records on a flat even surface.
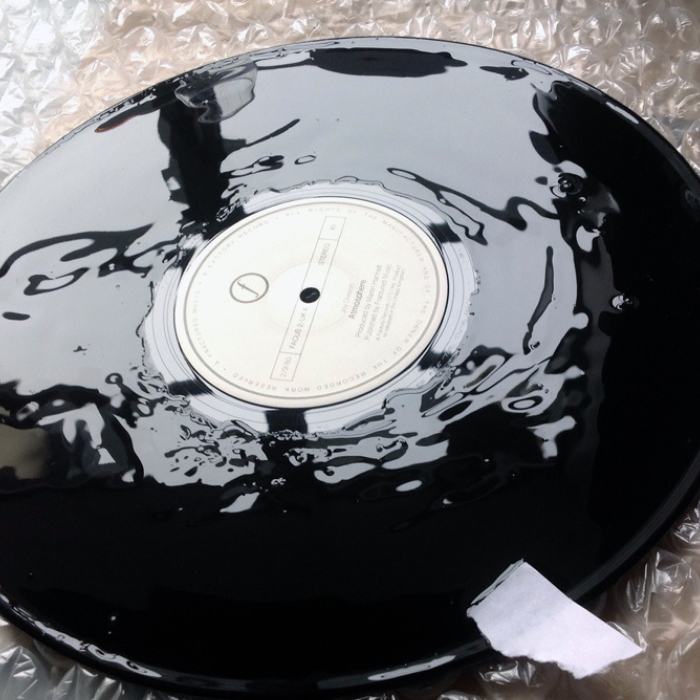
- Measure 20 ml (0.65 fl.oz) of Record Revirginizer for a 12” record and pour evenly over one side of the record, making sure to avoid the centre label.
- With clean hands, massage Record Revirginizer solution into the record’s grooves in a circular motion using two fingers. Avoid the label in the centre of the record.
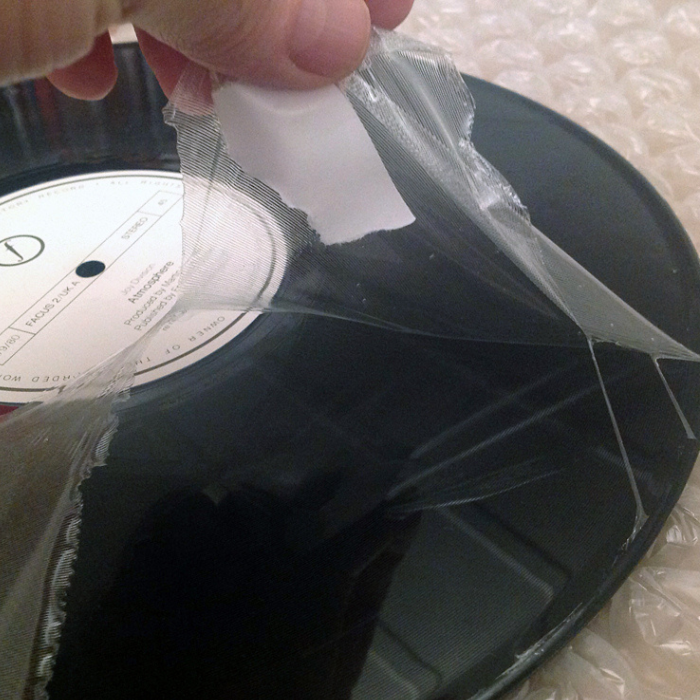
- Immediately after applying the solution place a paper tab 5mm (.25”) on the outside edge of the record where the solution has been applied.
- Leave the solution to dry completely. Drying time will be approx. 1 hour if dried under a fan or in an air-conditioned room or up to 12 hours without. Avoid using Record Revirginizer in high humidity or damp conditions unless records can be dried in an air-conditioned or dehumidified room.
- Once dry, use the paper tab to carefully peel the film from the record.
- We recommend replacing the Record Inner Sleeve after Revirginizing your vinyl record to avoid contamination from the old sleeve.
If you have any questions, you are always welcome to contact us. We'll get back to you as soon as possible, within 24 hours on weekdays.
-
Shipping Information
Use this text to answer questions in as much detail as possible for your customers.
-
Customer Support
Use this text to answer questions in as much detail as possible for your customers.
-
FAQ’s
Use this text to answer questions in as much detail as possible for your customers.
-
Contact Us
Use this text to answer questions in as much detail as possible for your customers.

